
Service pageSources checked
At a glance
Home Renovations: scope, budget and approvals
Andymax’s whole-home renovation guide is $250,000–$400,000 before HST for an approximately 2,000-square-foot, mid-range scope. Room count, layout changes, building systems and selections determine the written price. A useful proposal separates structural and service changes, finishes, design and approvals. Toronto permits depend on the work proposed. Design, ordering, demolition, inspections and fit-out should be scheduled as distinct stages.
- Scope
- A coordinated whole-home renovation; the published example is approximately 2,000 square feet with mid-range finishes. Define each room, shared services and restoration boundaries.
- Planning range
- $250,000–$400,000 · Mid-range whole-home renovation of approximately 2,000 sq. ft.. CAD before HST. Inclusions, exclusions and assumptions
- Permits
- Toronto structural or material changes and plumbing or HVAC changes can trigger permits. Electrical notification and inspection are separate from building permits.
- Timing
- Investigations, layout, approvals and selections control procurement. Phasing, occupied rooms, custom cabinetry and concealed repairs affect handoffs.
Part of Home Renovations
A closer look
Home Renovations in pictures
Choose the extent of a coordinated renovation
A whole-home project needs one clear boundary between changed rooms and rooms that stay. The scope comparison below helps identify what an estimate must explain. It is not a promise that existing services can be retained or that a cosmetic scheme will address concealed building problems.
| Approach | Suitable goal | What changes the scope |
|---|---|---|
| Finish renewal | Improve surfaces and storage where the existing arrangement already works. Rooms can keep much of their present use while gaining updated flooring, trim, paint or cabinetry. | Condition of the base surfaces, removal, adjacent-room transitions and protection of retained finishes. A finish allowance does not automatically include structural repair or electrical upgrades. |
| Kitchen and bathroom coordination | Rebuild the rooms with the most fixtures while coordinating the shared floors, lighting and service routes around them. | Cabinet and fixture selections, wet-area assemblies, appliance connections, ventilation and relocation of drains or wiring. Refer to the kitchen and bathroom guides for those detailed decisions. |
| Layout and structural change | Create a more useful relationship between rooms, such as connecting an enclosed kitchen to a living space. | Assessment of the existing structure, designed support, temporary works and restoration beyond the removed wall. New circulation may change doors, lighting and finish boundaries elsewhere in the home. |
| Phased renovation | Spread disruption or decisions across separate stages while preserving the future overall plan. | Repeated setup, temporary finishes and the risk of reopening completed work. Complete shared service and floor-level decisions early even when cabinetry or paint will be installed in a later phase. |
A renovation schedule with clear decision gates
Ordering and construction depend on settled dimensions and selections. Instead of asking for one generic completion period, ask the team to show how unresolved design, approvals and deliveries affect each stage. The sequence may overlap where practical, but it should keep inspection and product requirements intact.
- Measure and investigate
Record each room, known repairs and retained items. Identify concealed conditions needing assessment and distinguish them from confirmed work. Check whether new layouts conflict with structure, existing plumbing, heating routes or equipment access.
- Set scope and allowances
Approve a measured layout and coordinated room specifications. Separate essential work from optional upgrades. Assign selections for cabinets, fixtures, surfaces and lighting to actual decision dates so orders do not depend on an undefined finish level.
- Resolve approvals and procurement
Determine the applicable permit route and trade requirements, then coordinate required applications. Confirm lead times for critical products and record delivery assumptions. Clarify substitution approval rather than letting a late item silently change the design.
- Demolish, repair and rough in
Protect occupied and retained areas, expose agreed zones, and document discoveries. Complete designed changes and services with the necessary inspections before covering them. Update the scope and schedule when approved additional repairs affect following work.
- Finish and hand over
Coordinate surfaces, cabinetry, fixtures and final connections in the required order. Review the finished rooms against the specification, reconcile changes and record remaining corrections. Provide available product and approval records for the work actually completed.
Use a room schedule to make the budget meaningful
The $250,000–$400,000 published guide describes an approximately 2,000-square-foot mid-range whole-home example, before HST. It does not establish a price for every 2,000-square-foot home. A house with several bathrooms, custom cabinetry and major layout changes is a different scope from one with fewer fixtures and retained systems. Build the comparison from room quantities: cabinet runs and specifications, bathroom fixture sets, flooring areas, tile areas, doors, trim and painting boundaries. Then add shared work such as structural openings, service updates, protection and waste. State whether appliances, professional design, permit fees, accommodation and exterior repairs are included or excluded. An allowance should name the item and the available amount so a later product selection has a clear cost effect. Keep optional upgrades on separate lines and give concealed-condition work an approval process rather than hiding uncertainty in a reassuring total. The published price ranges help orient a conversation, but adding every individual service range is not a reliable way to calculate a coordinated whole-home contract.
Coordinate drywall, lighting and finish levels before closing walls
Wall and ceiling work affects the finished renovation’s appearance and later access. Decide where services need access panels, where cabinets or wall-mounted objects need planned support, and how new walls meet retained ceilings. Strong side lighting can make surface irregularities more visible, so review the finish expectation with the actual lighting layout instead of only under a portable work light. Photograph relevant concealed work for the project record when appropriate, while still relying on the agreed inspection and documentation process. Flooring thickness, door clearances and trim positions should be coordinated before final paint and cabinetry are installed. At the edge of a renovated room, specify whether the finish stops at a doorway, continues down a hall or requires broader blending. The flooring guide and tile guide explain why preparation and transitions matter. These choices are particularly valuable in phased work because a finish installed too early can need removal to complete a later service route. A room schedule with an explicit finish boundary helps turn an attractive material palette into a buildable coordinated scope.
Build a room-by-room brief that also explains the whole house
Start with what each room must support, who uses it and what is frustrating now. A kitchen may need safer circulation rather than simply more cabinetry; a living room may need a better relationship to the entry and dining area. Mark features to preserve, including sound flooring, trim or built-ins, so they are not assumed to be demolition. Note storage, daylight, privacy, accessibility and furniture placement on a plan. Then look beyond each room: an open doorway, consistent floor level or better lighting route can have more value than a finish upgrade in isolation. Define essential changes, optional upgrades and future work separately. This brief lets a designer and contractor test alternatives against a clear purpose and helps keep the estimate tied to your actual priorities.
- List keep, repair, replace and add decisions for every room.
- Photograph recurring problems and the elements you want to preserve.
- Identify which improvements must work together across room boundaries.
Investigate existing conditions before finalizing selections
Existing houses can conceal leaks, uneven framing, old service routes or earlier alterations. A walk-through should record visible cracks, water staining, floor slopes, ventilation problems and access to plumbing or electrical equipment. Available plans and permit records provide context, but concealed conditions may only be confirmed after targeted investigation or demolition. Define what the initial price assumes and who will assess any discoveries. If the project changes structural elements or involves material alterations, Toronto's permit guidance is relevant; confirm the specific work with the municipality before construction. Do not cover an unresolved moisture source with expensive finishes. A preliminary investigation can sometimes narrow uncertainty enough to make later pricing more useful, even when every condition cannot be known in advance.
- Share records and photos of earlier repairs or additions.
- Flag rooms with recurring water, comfort or electrical concerns.
- Document how unexpected conditions will be assessed and priced.
Review layout changes with structure and services in mind
Moving a wall can change more than room size. It may affect framing, ducts, wiring, plumbing, fire or sound separation and finish transitions. A proposed open-plan area should be checked for furniture placement, lighting and storage, not just a dramatic wide view. Bathrooms and kitchens cost more to relocate when supply, drainage or ventilation routes must change. Discuss the structural and permit review before demolition when an opening or altered support is proposed. Compare a focused layout improvement with a more extensive reconfiguration, including the work required in adjacent rooms to make the result coherent. If a room is changing use, describe that clearly so the design and approvals reflect the actual plan. Keep the latest drawings aligned with the agreed construction scope.
- Ask what supports and service routes are affected by each proposed wall change.
- Draw furniture before accepting a new room layout.
- Include floor, ceiling and trim repair at the edges of altered rooms.
Plan kitchens and bathrooms as systems
These rooms combine layout, waterproofing, ventilation, power, plumbing, storage and finish choices. For a kitchen, map work zones, appliance clearances, task lighting and space for everyday items before choosing cabinet doors. For a bathroom, consider bathing preferences, usable clearances, storage, exhaust and surfaces exposed to water. Ask whether fixtures stay in place or move, because that decision affects rough work and budget. Record exact models and dimensions before ordering so cabinetry, electrical and plumbing locations are coordinated. Discuss how the household will manage when a kitchen or bathroom is unavailable. If several wet rooms are being renovated, decide whether shared service work should be coordinated, while keeping each room's scope and allowances visible.
- Confirm appliance and fixture specifications before rough-in work.
- Mark temporary kitchen and bathroom arrangements in the phasing plan.
- Compare allowances for cabinets, tile and fixtures against actual selections.
Coordinate floors, ceilings, trim and lighting
A finish that looks continuous in a sample may require substantial preparation where existing surfaces are uneven. Check subfloor condition, floor heights, thresholds and stair transitions before selecting flooring across multiple rooms. Ceiling repairs after new lighting or service work should be included, with a plan for matching or intentionally changing texture and trim. Review switching and outlet positions in relation to furniture and doors, not only on an electrical symbol plan. Consider how natural and artificial light will work together at different times of day. When only some rooms are updated, specify where new finishes end and existing materials remain. A clear transition detail is often more successful than an uncertain attempt to match aged material.
- Check floor-level changes at doorways and stairs.
- Locate switches, outlets and fixtures against a furniture plan.
- Define the finish boundary for every renovated room.
Choose between one coordinated project and phases
Renovating in stages can spread decisions and preserve usable rooms, but repeating dust protection, demolition or finish tie-ins can add work. A single project may be simpler when the same systems or flooring run through several rooms, though it brings greater short-term disruption. Compare both options using a proposed sequence and a realistic picture of what remains usable. Ask when water, power, heating, kitchen or bathroom access may be interrupted. If the household stays in place, plan clean zones, deliveries, working hours, pets and safe circulation. If temporary accommodation is likely, allow for that in the personal budget and schedule. Choose phasing around dependencies such as structure and rough services, not only around the order of decorative rooms.
- Map rooms that can remain available during each phase.
- Price repeated protection and finish work in a phased option.
- Set decisions and ordering dates before each phase starts.
Define retained surfaces and visible junctions room by room
A coordinated renovation does not require every surface to be replaced. Retaining selected floors, doors, cabinetry or trim can be practical, but each new-to-old junction needs a visible boundary in the room schedule. Identify what stays before demolition and photograph its condition. Where a wall changes, note whether existing flooring continues beneath it and whether matching stock is available. A patch can be a sensible choice in one room and a conspicuous interruption in another; compare a localized repair with refinishing or replacement of the broader surface. The same question applies to ceiling texture, paint and discontinued trim profiles. Ask for an agreed appearance and repair extent rather than a promise that all old and new materials will be indistinguishable. Different light, product age and previous coatings can affect a match. Describe how retained items will be protected, moved if necessary and reinstated, including who handles damage discovered behind them. In a phased project, record which junctions are temporary and which are intended as the final finish. That prevents one phase from closing access needed for later work or forcing an avoidable second repair. Review samples and transitions together across adjoining rooms so a finish selected for one space does not create an unresolved edge in the next. The final scope should show the retained element, new work, repair boundary and acceptance discussion for every affected room.
- Photograph retained surfaces before work begins.
- Compare local repair with broader refinishing at visible junctions.
- Identify temporary and permanent boundaries in phased work.
Sequence decisions as carefully as construction
A practical renovation often moves from assessment and design through required approvals, protection and demolition, structural or repair work, rough services, inspections, insulation or closing walls, finishes and final checks. Selection dates matter because a late appliance, tile or fixture decision can affect rough-in locations and ordering. Agree on who supplies each item, who confirms its measurements and when substitutions require approval. Keep an up-to-date decision log so a revised drawing or finish choice reaches everyone doing the work. At each stage, compare completed work with the current plan before the next layer conceals it. When a condition differs from assumptions, document the finding, proposed response, cost and schedule effect before proceeding.
- Create a selection list with decision deadlines.
- Keep drawings and change records together.
- Review rough locations before walls and floors are closed.
Finish with a useful handover and maintenance record
Walk each renovated room against the agreed scope, noting finish defects, missing items and equipment that still needs adjustment. Test doors, drawers, lights, exhaust fans, faucets and other installed features. Confirm the status of required inspections and collect available permits, revised drawings, product manuals and warranty information. Keep a written list of remaining work with a follow-up process rather than relying on memory. Ask how to maintain unfamiliar flooring, tile, stone, cabinetry or equipment so early cleaning does not damage a finish. Reconcile documented changes and allowances with the final account. The records will help future maintenance, repairs and later phases of work. A completed renovation should be understandable to the homeowner after the construction team leaves.
Questions to settle before a whole-home renovation contract
Ask whether the scope is based on a measured plan and a room-by-room finish schedule. Identify who is responsible for design, engineering or permits where needed and whether their fees are included. Confirm the boundaries of demolition and restoration, especially where renovated and untouched rooms meet. Ask what the price assumes about existing wiring, plumbing, framing and subfloors, and how a concealed-condition discovery will be documented. Check the allowances for cabinetry, appliances, fixtures, tile and flooring against products you would actually select. If the home will be occupied, set out the sequence, temporary facilities, dust protection and periods when essential rooms may be inaccessible. Clarify who orders materials, how substitutions are approved and how decisions are recorded. An estimate becomes more useful when these practical responsibilities are explicit, because two similar totals can represent very different levels of scope.
- Attach the current drawings and selection list to the agreed scope.
- Confirm the treatment of adjacent rooms and finish transitions.
- Set a written process for changes before work starts.
Match the renovation scope to Toronto’s permit categories
Toronto’s permit rules turn on the work proposed, not the marketing name of the renovation. Structural or material changes, new or enlarged openings and changes of use are among the common permit triggers the City lists. Simple finish replacement can be different, so describe each room and each proposed wall, window, plumbing or HVAC change before deciding what application is needed. Toronto Building’s Interior Alterations guide for small residential buildings sets out dimensioned plans, applicable forms and related plumbing or mechanical submissions for work that needs that permit. If a rental unit is involved, ask about additional screening and requirements. The City’s guide is specific to Toronto; other GTA municipalities administer their own approvals. Put a permit decision after scope and existing-condition review and before demolition. A complete application, City comments, redesign and inspections are separate steps in the timeline.
- Mark every proposed wall opening and service relocation on the existing plan.
- Identify who prepares permit drawings and replies to review comments.
- Set ordering and trade dates only after scope and approvals are settled.
Keep efficiency rebates separate from the renovation contract
The Ontario-supported Home Renovation Savings program offers rebates for eligible energy measures, rather than a blanket reduction to a whole-home renovation price. Save on Energy and Enbridge Gas describe an assessment-based pathway for bundled upgrades alongside single-upgrade options. Confirm the pathway, product and timing requirements before ordering or starting the proposed measure. If the renovation includes insulation, air sealing, windows or equipment, identify the relevant eligible work separately from kitchens, paint and other general construction. Keep the actual application, assessments and invoices required for that pathway. A maximum advertised rebate is not a promise of payment to every household. Compare the underlying renovation scope before any assumed incentive so the full cost remains understandable. The designer should still coordinate ventilation, comfort and envelope connections as part of the building work. Product supply and inspection requirements belong in the construction programme independently of a rebate’s application or payment timing.
- Check current administrator rules before purchasing an eligible measure.
- Keep energy work and optional decorative upgrades distinguishable in the estimate.
- Retain the program’s required invoices and assessment records.
Home Renovations: pricing & scope
Mid-range whole-home renovation of approximately 2,000 sq. ft.. All figures are CAD, before applicable HST.
The number of rooms, layout changes, building services and finish selections determine the full scope.
Your written estimate confirms the work, materials and allowances for your property.What affects the total?
- Number of rooms and demolition scope
- Layout and building-system changes
- Cabinetry and finish selections
- Existing conditions uncovered during work
- Phasing and access to occupied rooms
From our work
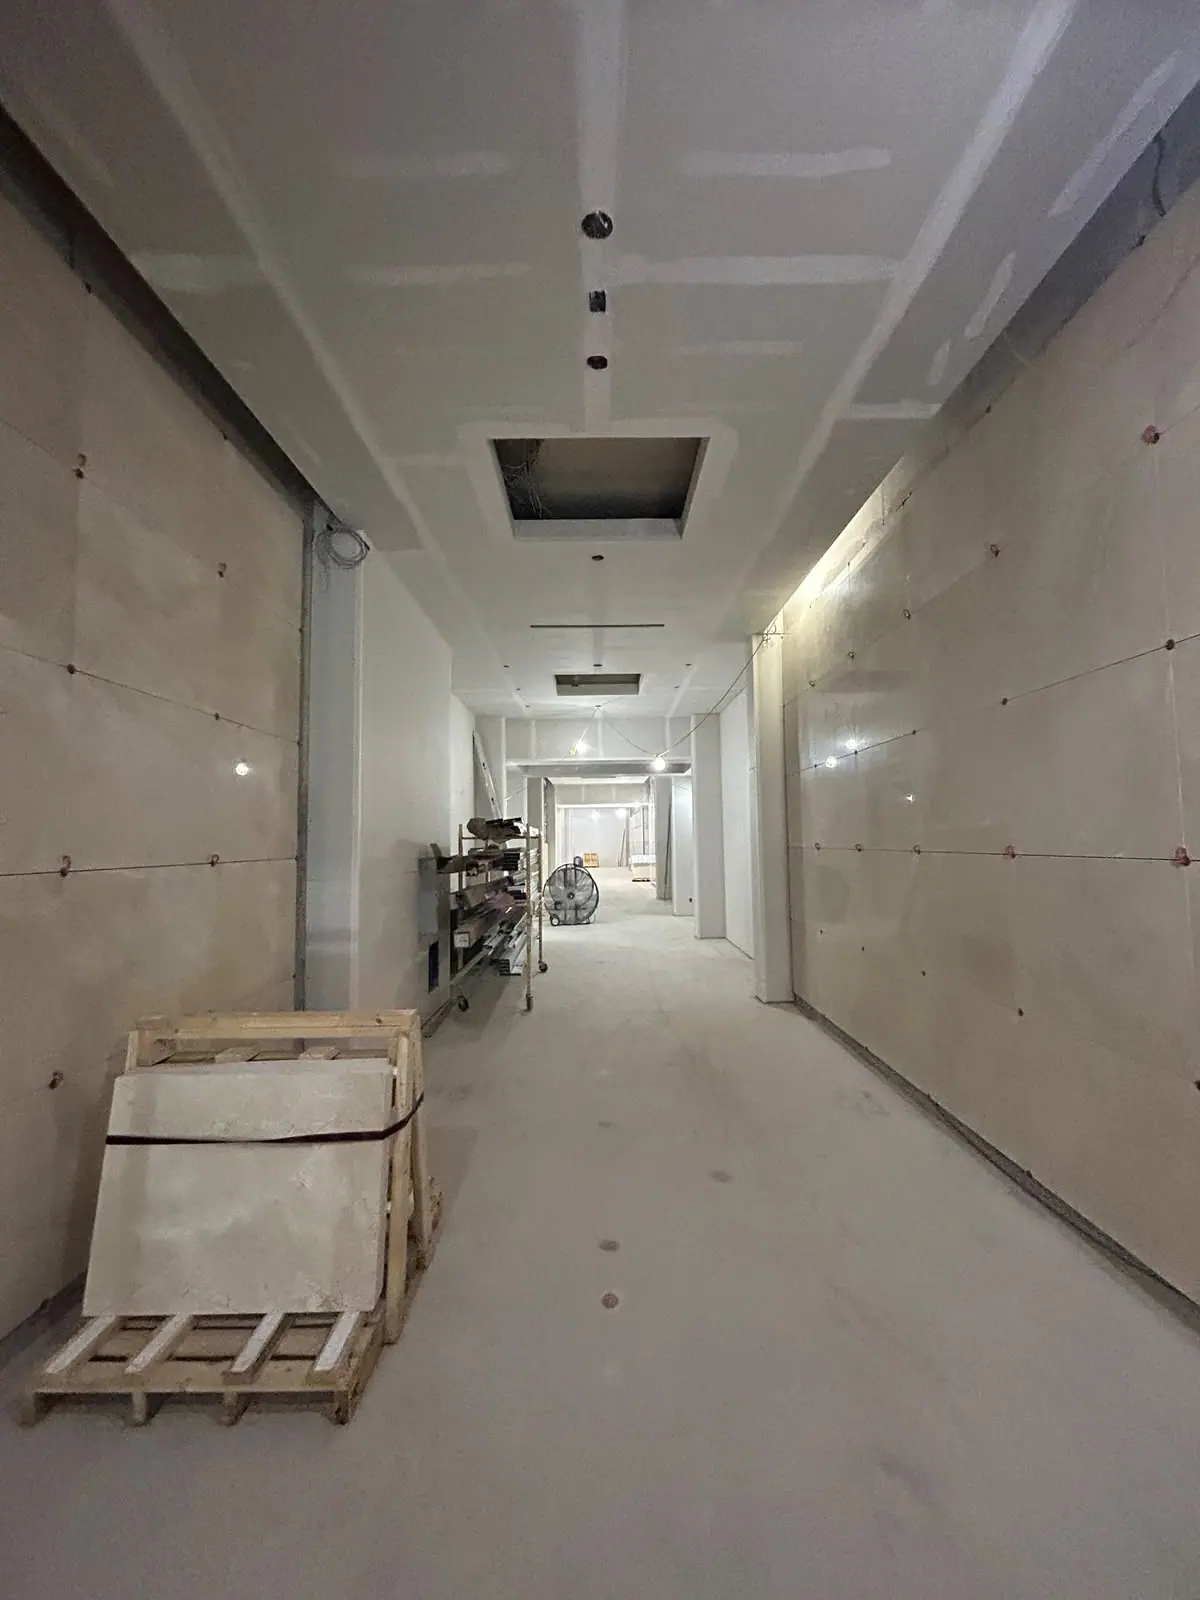
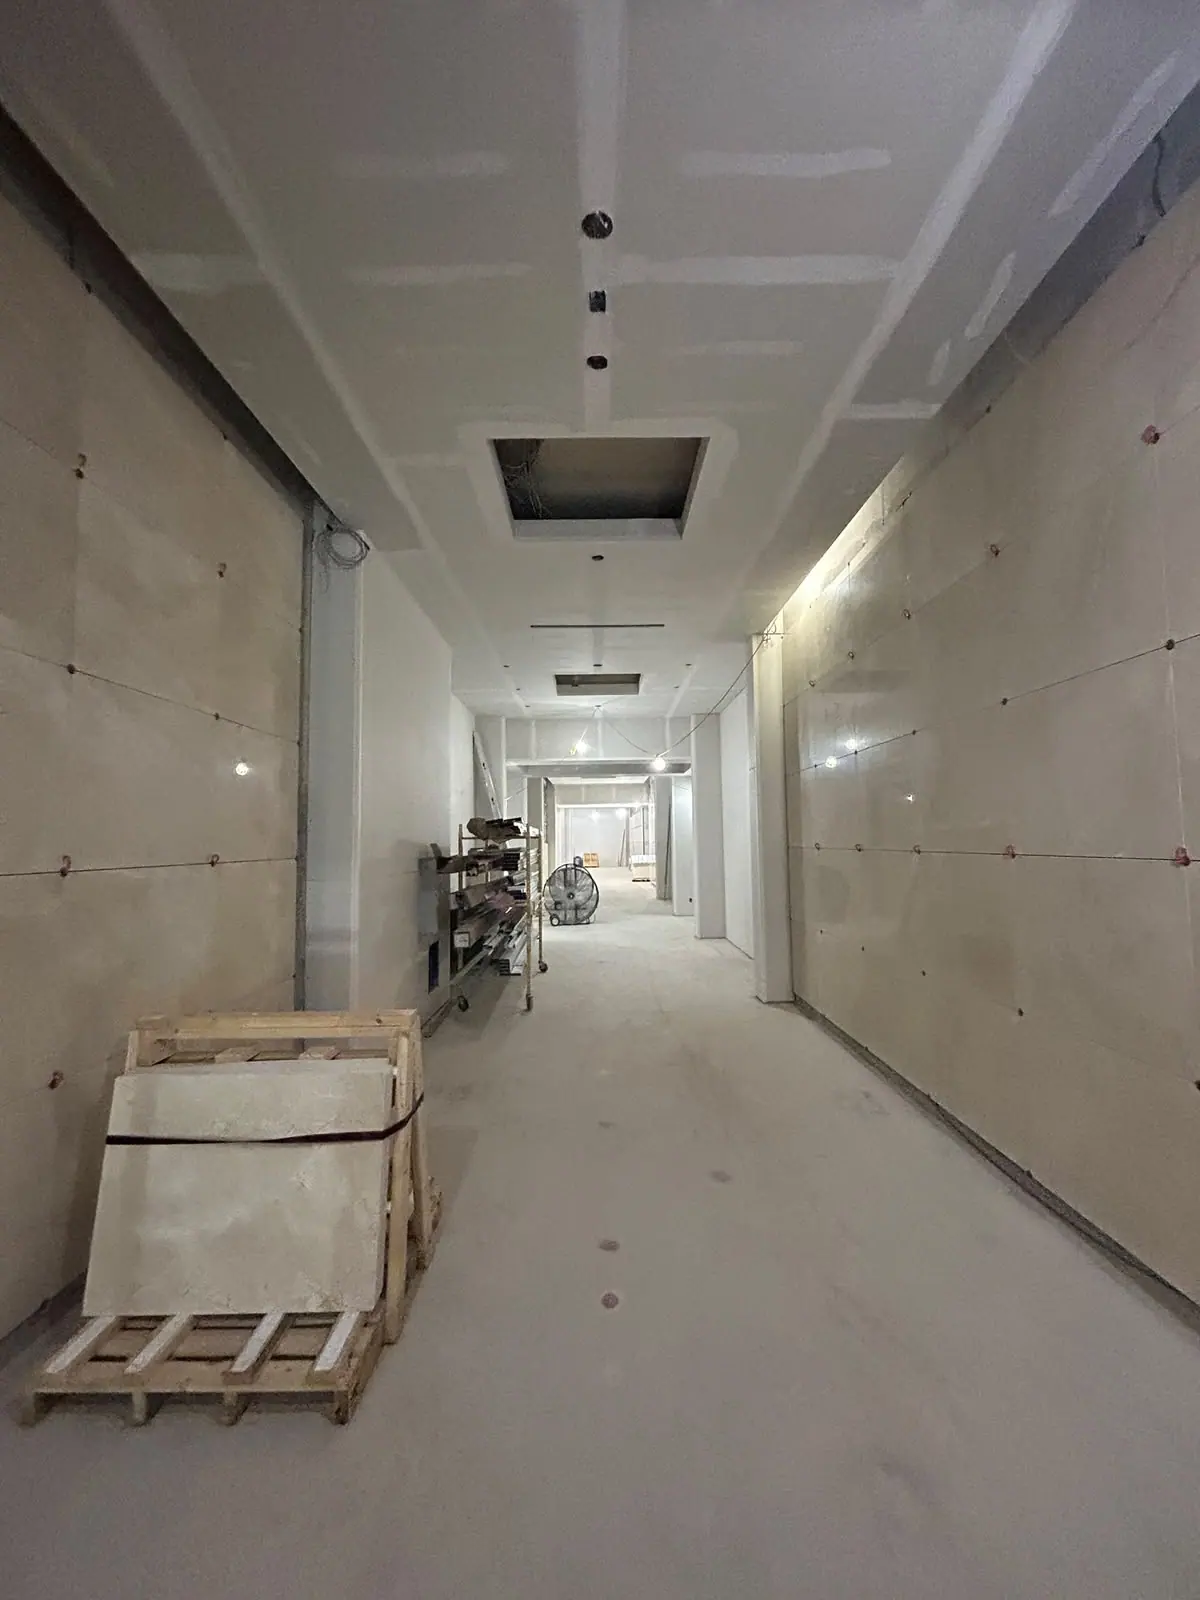
Drywall corridor in progress
An interior corridor with installed drywall, visible joint compound and unfinished ceiling openings.
View project photos →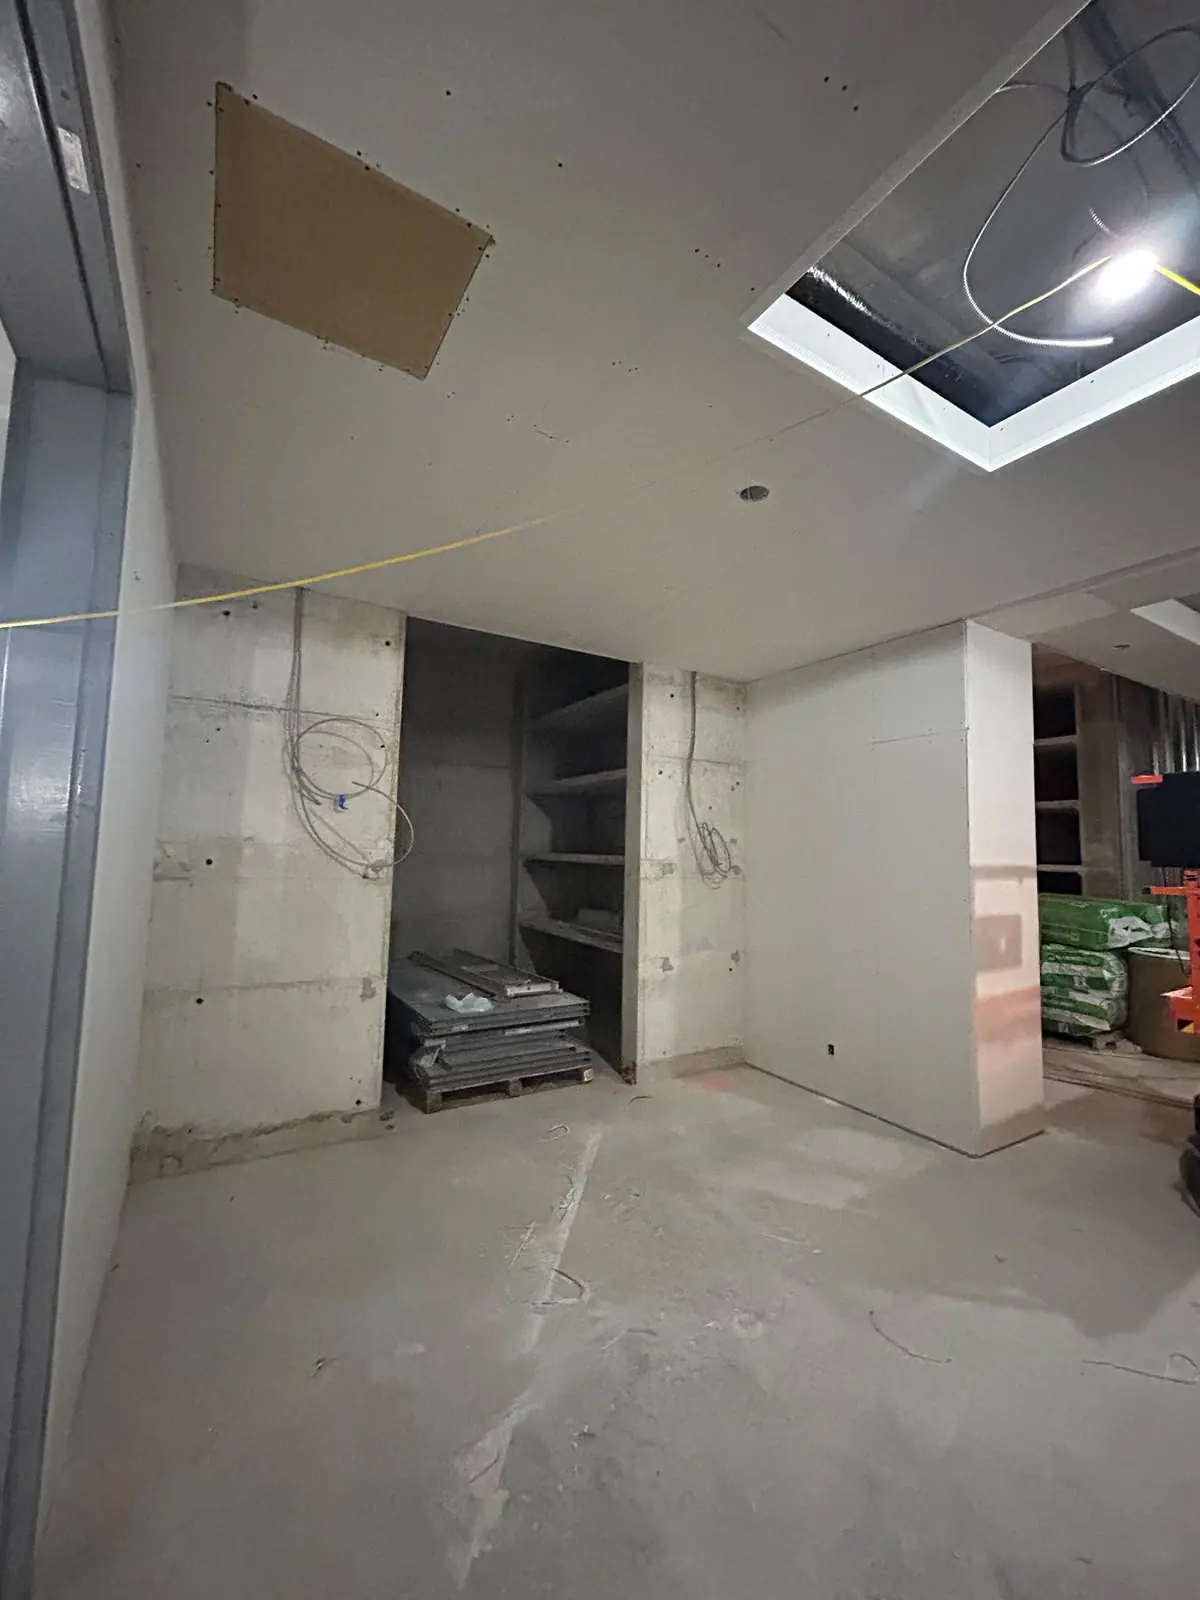
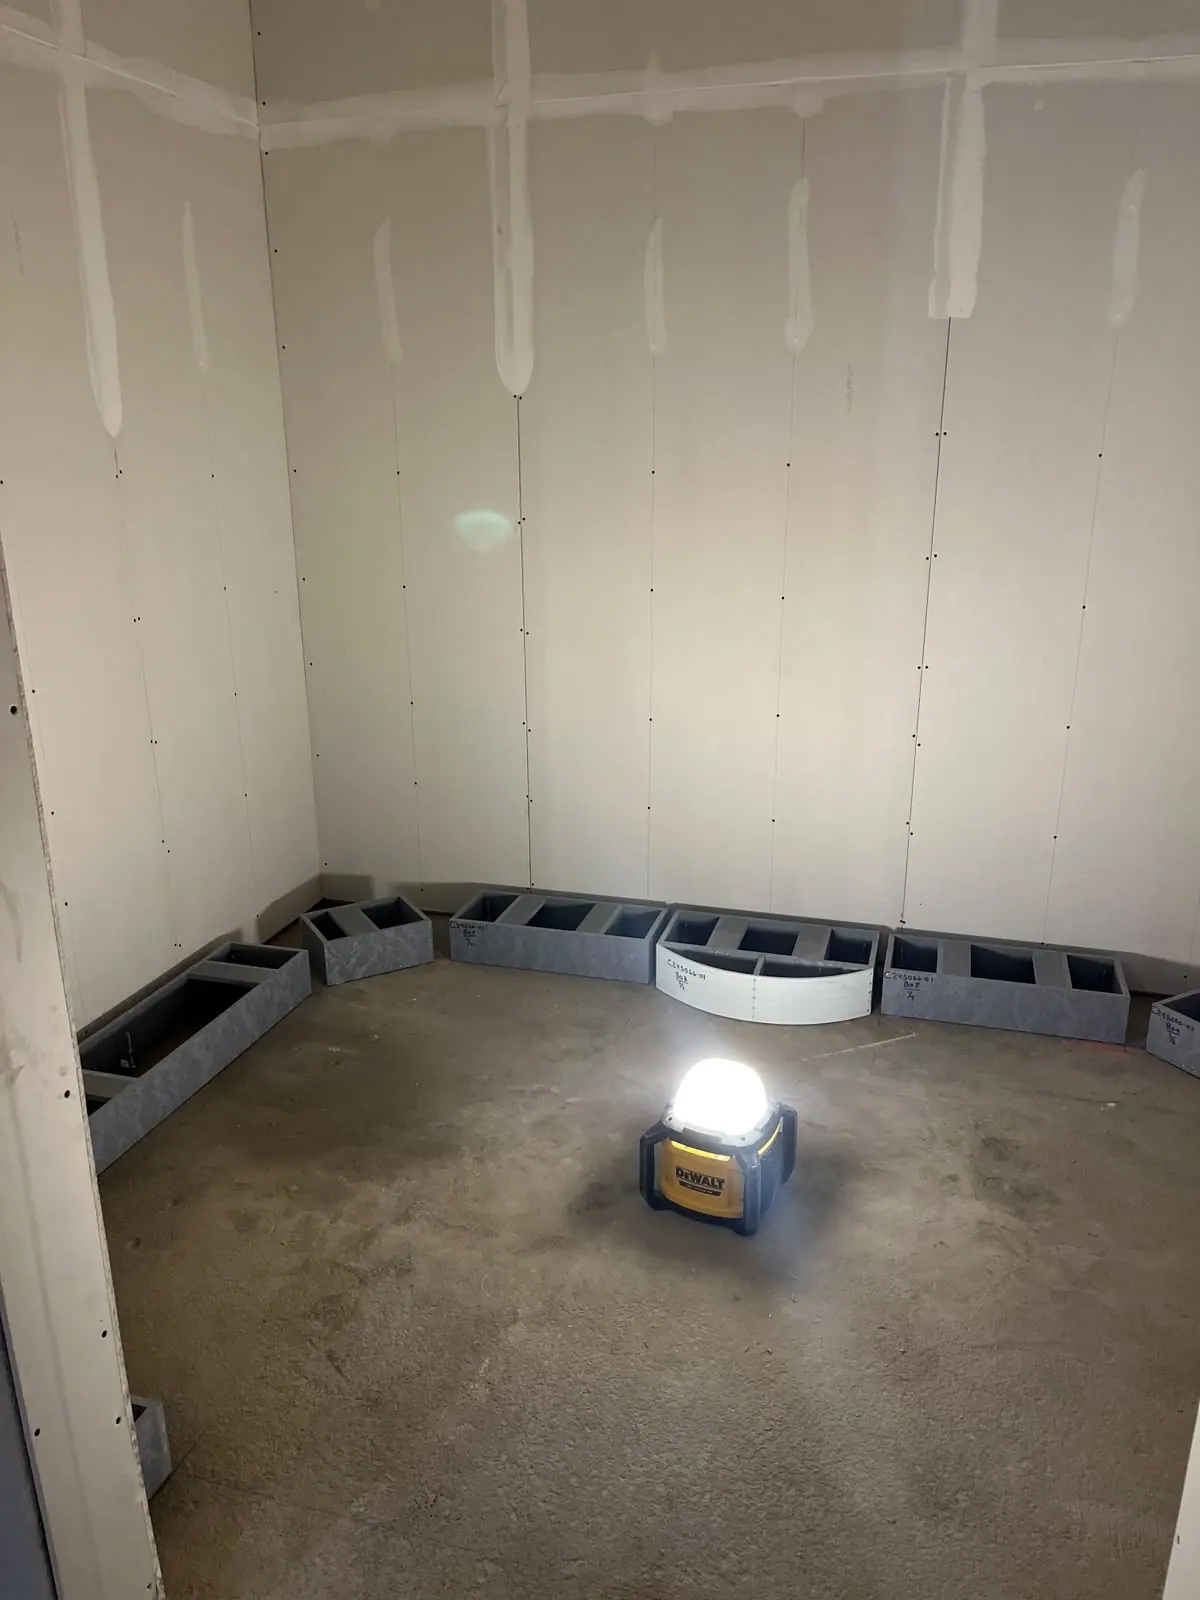
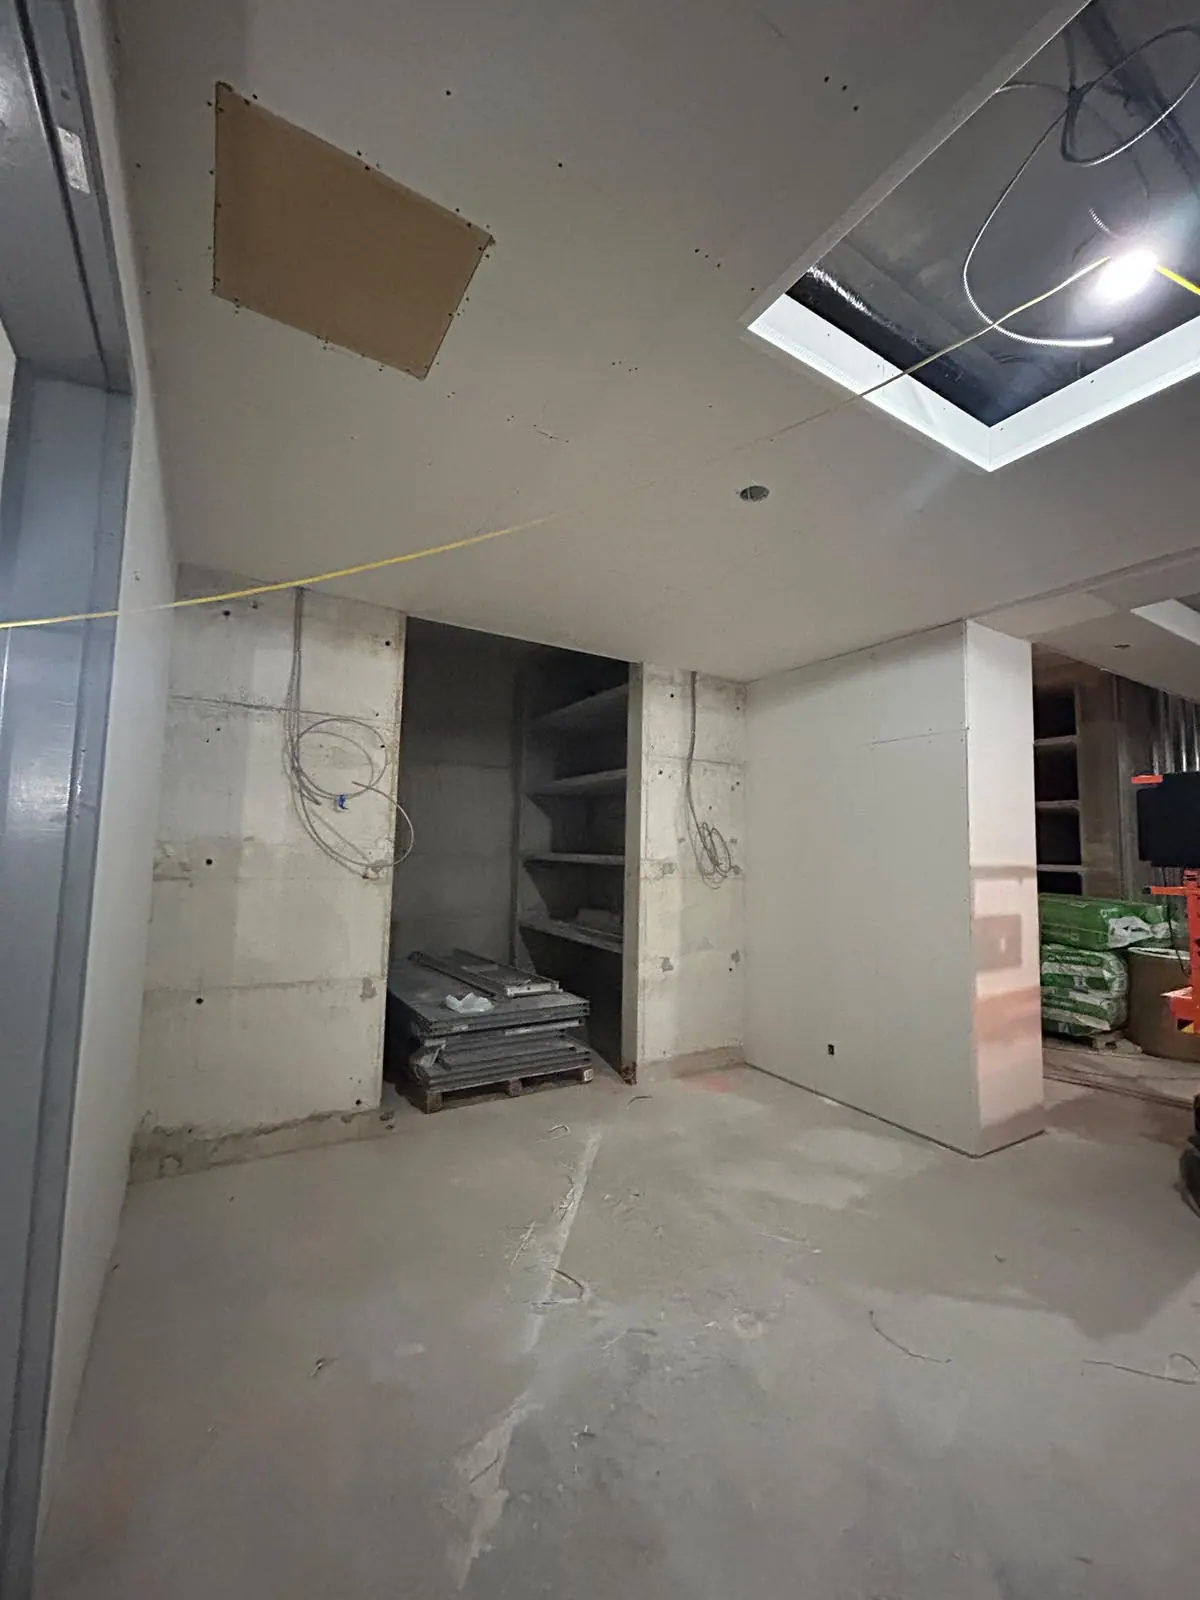
Interior build-out stages
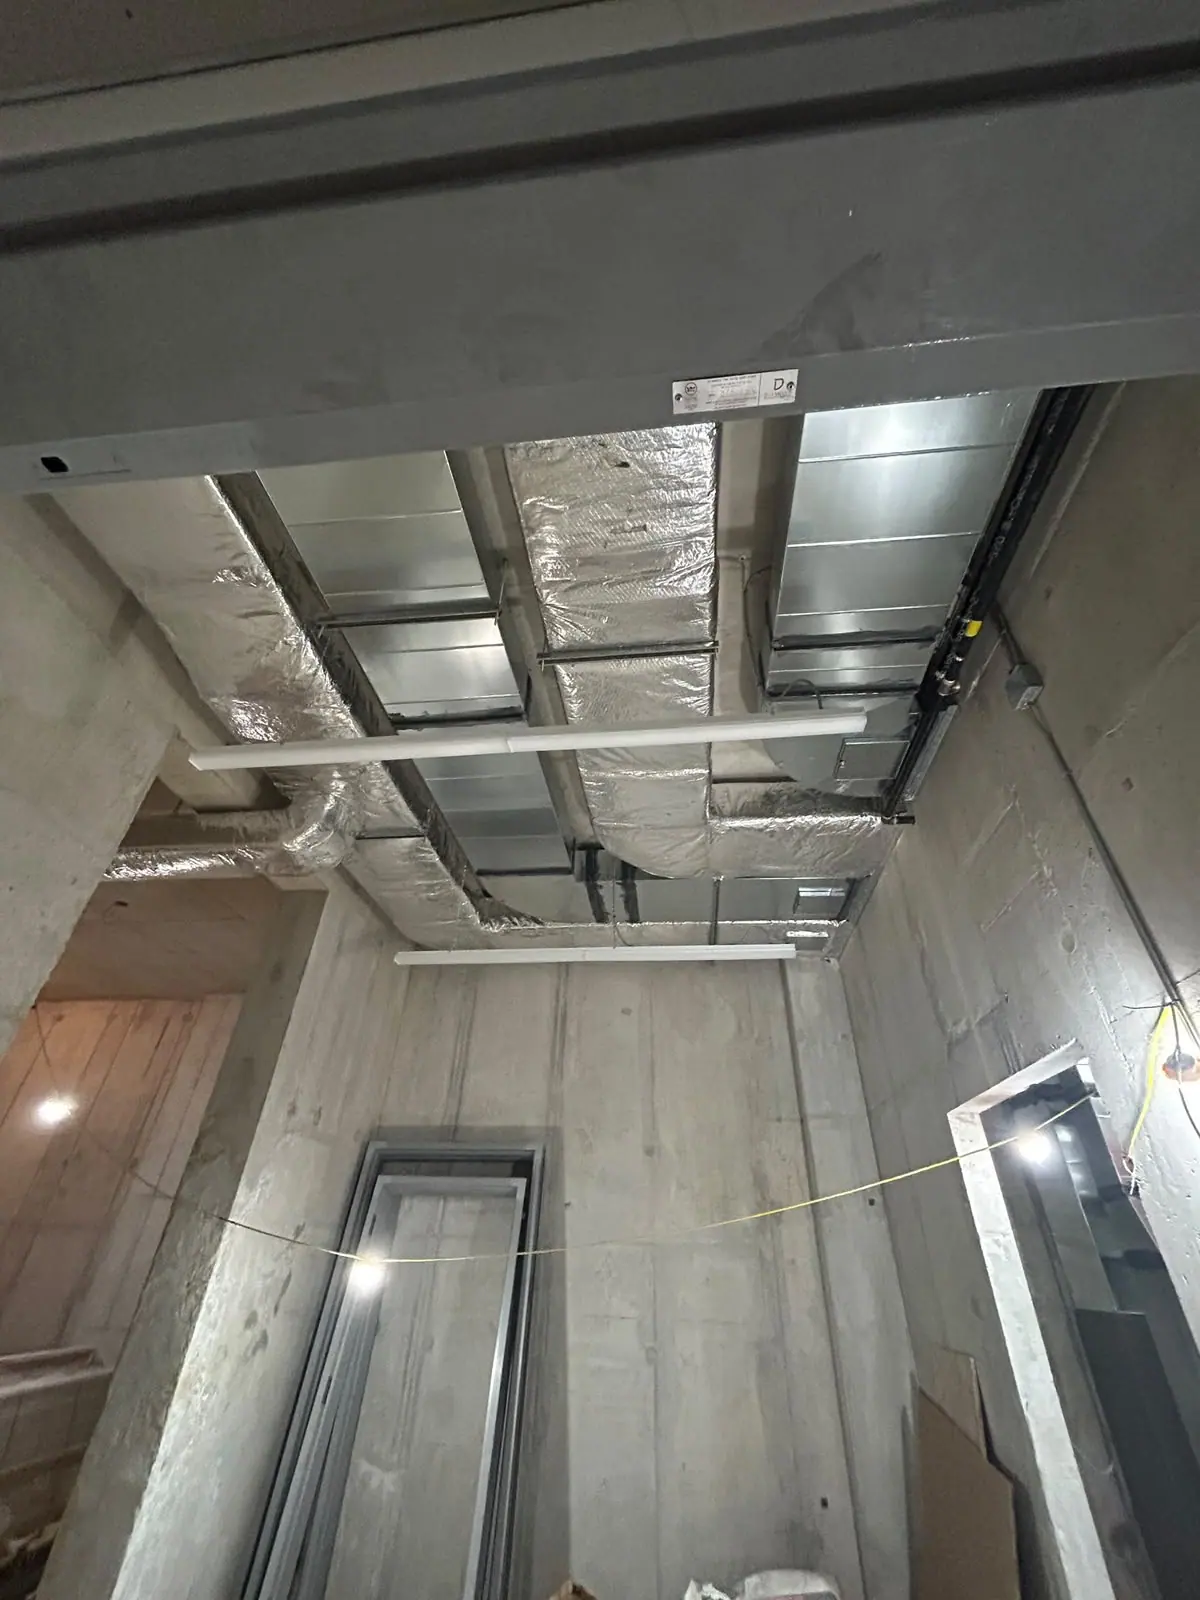
Interior construction photos showing ductwork, insulated metal studs and drywall work in progress.
View project photos →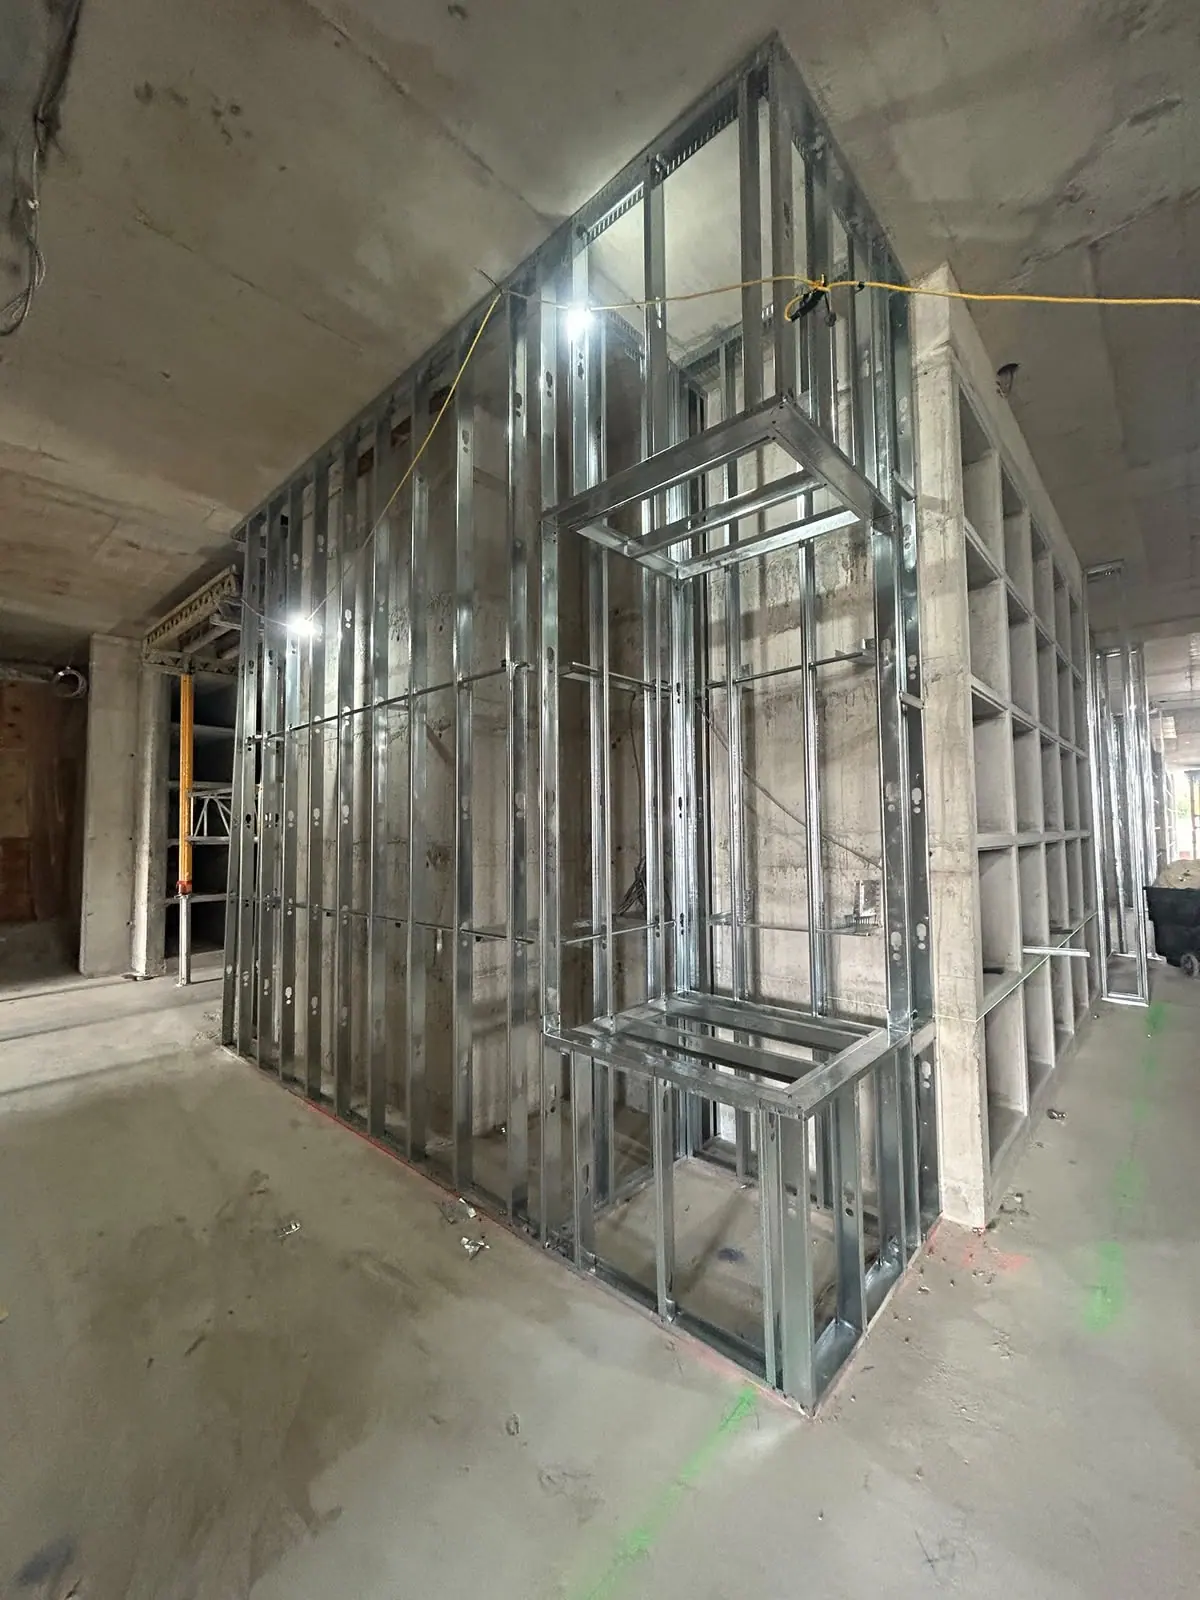
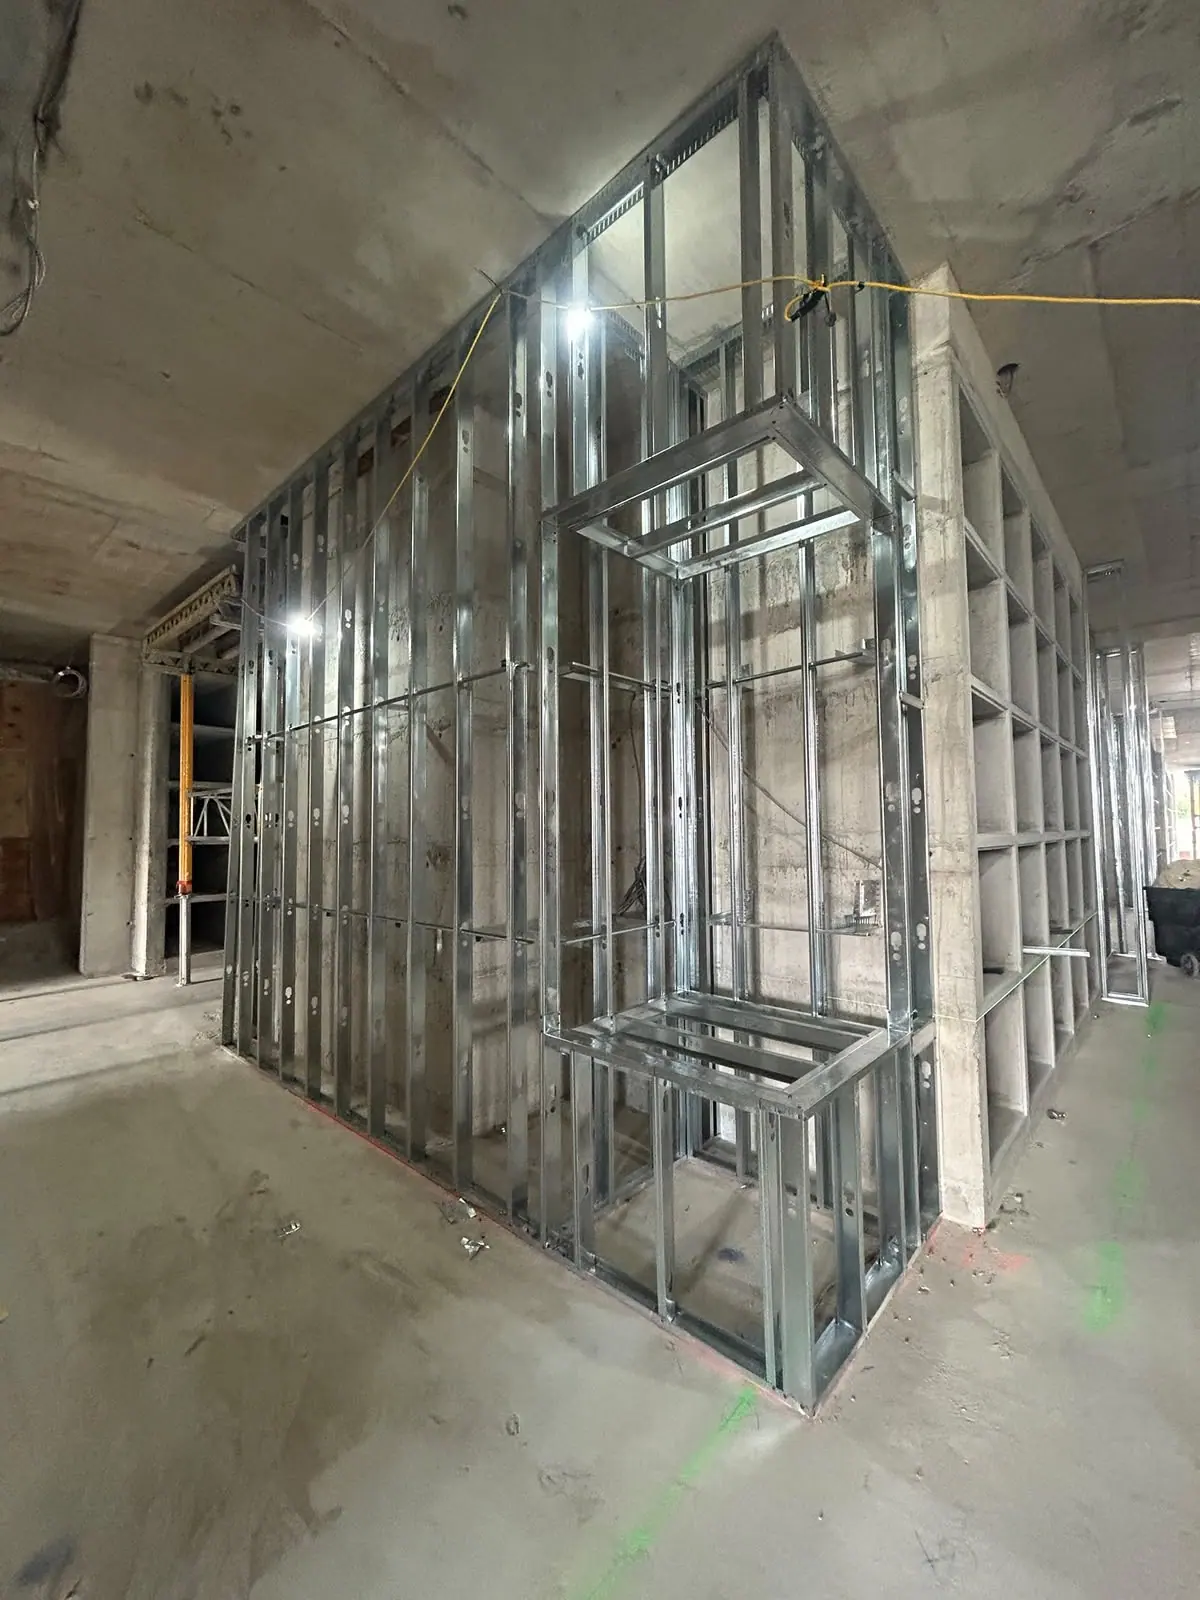
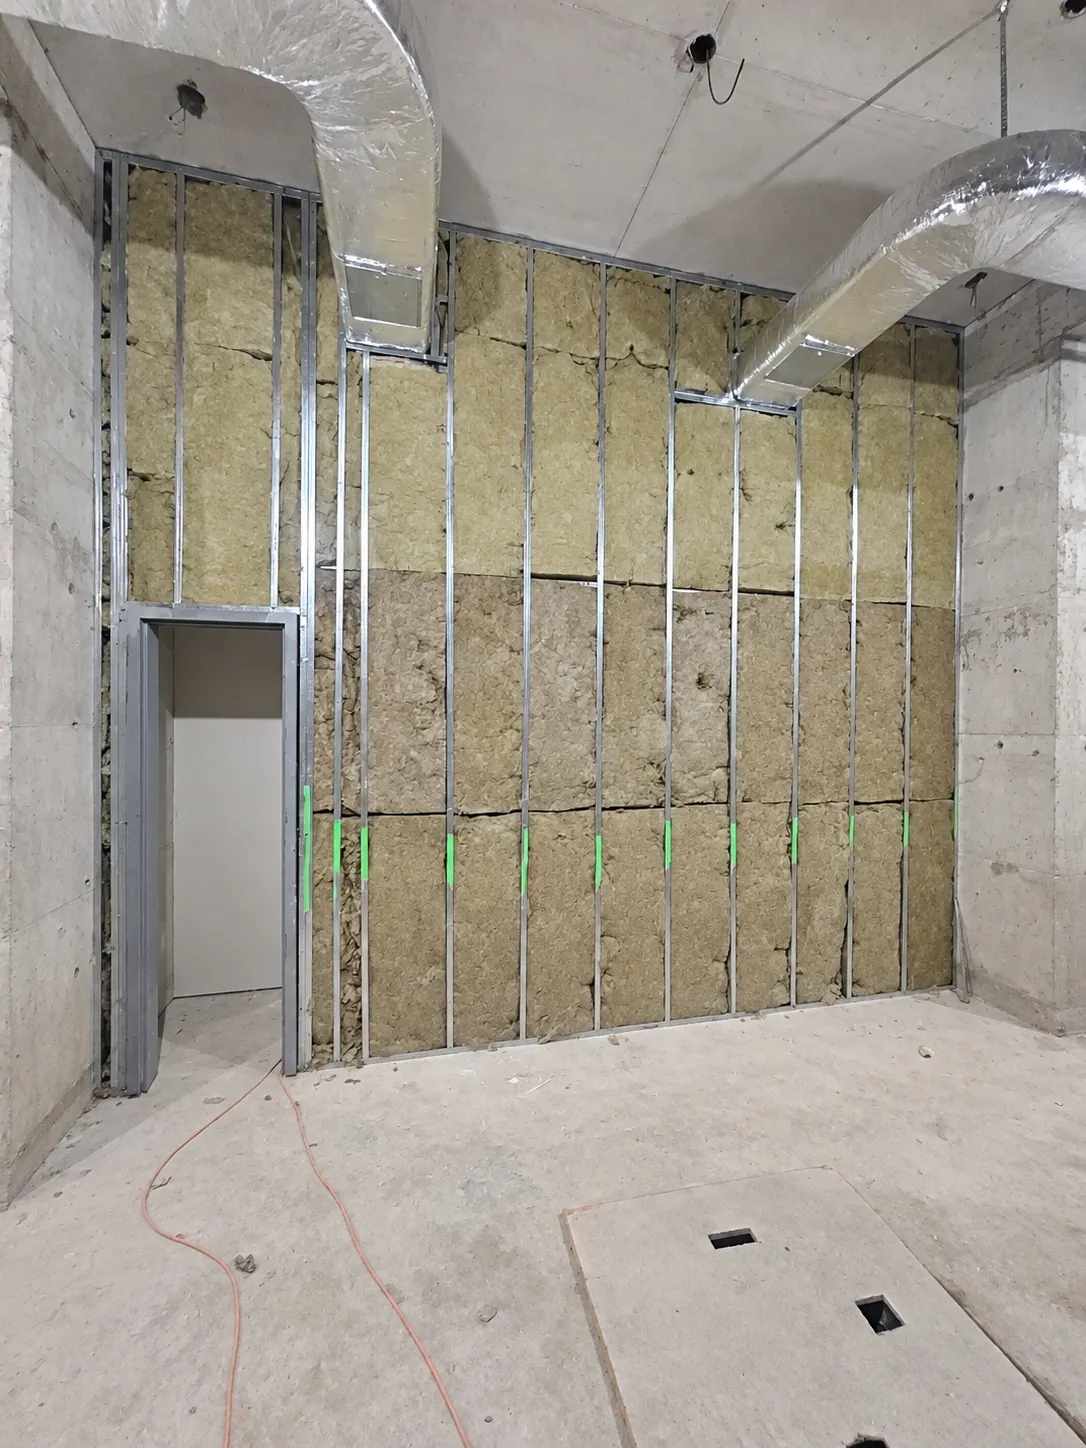
Interior metal-stud partition framing
Metal-stud interior partitions and a framed opening before wallboard installation.
View project photos →Frequently asked questions
Can a renovation be completed in stages?
Phasing can be discussed, but the best sequence depends on how the rooms and building systems connect. Identify what must remain usable while the work takes place.
What should I prepare for a renovation consultation?
Bring a room-by-room wish list, photos, available plans, your budget priorities and your preferred timing. Mark the decisions that are already fixed and those where you want options.
Should we renovate the whole house at once?
That depends on budget, available accommodation and how much work crosses room boundaries. Compare a coordinated project with a phased plan that accounts for repeat protection and finish tie-ins.
What makes two renovation estimates comparable?
Give each bidder the same room-by-room scope, drawings where needed, fixture selections and finish expectations. Compare allowances, exclusions, disposal, approvals and work in adjacent rooms, not just the totals.
Do all home renovations need a building permit?
The requirement depends on the work. Toronto identifies additions and material alterations as permit matters; structural or substantial building-system changes should be reviewed for the specific proposal. Confirm the applicable municipal requirements before construction.
What should happen when hidden damage is uncovered?
The condition should be documented, assessed and discussed before a proposed repair is built. Ask for the scope, price and schedule effect in writing so the change is understood against the original assumptions.
When should fixtures and finishes be selected?
Choose items that affect dimensions or rough service locations before that work begins. Cabinetry, appliances, plumbing fixtures and lighting often need early coordination; paint and some decorative decisions may follow later. Use a selection schedule for the actual project.
Can we keep part of the house usable?
Often a phased plan can preserve some rooms, but it depends on shared services and the work sequence. Identify essential kitchen, bathroom, sleeping and entry functions, then compare the cost and disruption of phasing with a single coordinated renovation.
Where can I check Toronto interior-renovation permit requirements?
Start with the City’s When Do I Need a Building Permit? page and its Interior Alterations application guide. The permit decision depends on the actual wall, opening, service and use changes, so provide a clear scope rather than assuming every finish update is treated alike.
Are whole-home renovations covered by Ontario efficiency rebates?
A whole-home renovation is not automatically eligible. The Home Renovation Savings program covers specified energy-efficiency measures under current conditions. Check measure, assessment and contractor or product rules before ordering or starting work.
Further information
Helpful before you start
Project planning
How to compare renovation estimates without missing the scope
A practical checklist for comparing inclusions, allowances, exclusions and change procedures before choosing a renovation proposal.
Read the guide →Planning connected work?
Basement Renovations
Plan a lower level that suits your intended use, with existing conditions considered before the finishes.
View serviceBathroom Renovations
Create a bathroom around practical fixture placement, comfortable daily use and coordinated finishes.
View serviceKitchen Renovations
Plan a kitchen around cooking, storage and everyday movement, with the layout and finish scope considered together.
View serviceFlooring Installation
Coordinate flooring materials, preparation and transitions across the rooms you want to update.
View serviceTile Installation & Tile Work
Plan wall, floor and backsplash tile with surface preparation, layout and finishing details in the scope.
View serviceLoad-Bearing Wall Removal
Explore a more open layout with a property-specific structural review, a defined support plan and careful construction sequencing.
View serviceService areas
Home Renovations across Toronto and the GTA, from our Etobicoke base.